
Place the Maze Walls
After obtaining the maze walls, adjust your phone tool settings to make it easier to place the walls along the island grid lines.
-
Set DROPS to ON (by pressing G) so that your props and devices will land on the ground, even if you position them higher.
-
Set GRID SNAP to 2 (by repeatedly pressing V) to limit the number of positions a wall section can move into as you are placing it.

The Drops and Grid Snap settings are shown with their hotkeys.
3. Place some solid maze walls to create section 1 of the maze, leaving an opening for a maze wall with a door to be placed as an exit. Refer to the video tutorial, “How to Use Props” if you need information on using your phone tool to build the walls.
4. Place the maze wall with a door into section 1 of the maze, with the door facing the inside of the maze, as an exit door.

The phone tool is used to place a wall in the game.
5. Place some more solid maze walls to create the second section of the maze so that it is accessed by passing through the door.
6. Place the maze wall with a door into the second section of the maze, with the door facing the inside of the maze, as an exit door.
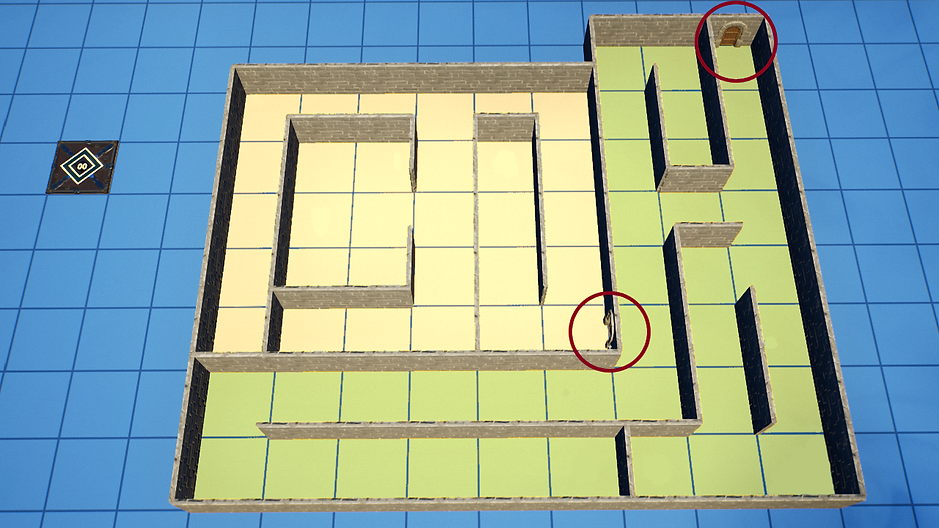
Exit doors are placed in section 1 of the maze, which is shown in yellow, and section 2, which is shown in green.